How Do You Make Maple Syrup at Home
There’s something magical about the thought of making maple syrup at home. The process connects you to nature, the changing seasons, and the sweetness of life itself. While the idea may seem daunting at first, with the right preparation and knowledge, you can embark on your syrup-making adventure. Let’s explore how to turn simple sap into delicious maple syrup.
Understanding the Basics
To start, it’s essential to know that maple syrup comes from the sap of sugar maple trees, black maples, or red maples. The best time to tap these trees is in late winter to early spring when daytime temperatures rise above freezing while nighttime temperatures sink below. This temperature fluctuation creates pressure that causes the sap to flow.
Identifying and Tapping the Trees
First, you’ll need to identify suitable trees. Look for healthy maples with a trunk diameter of at least 10 inches. Once you’ve found your trees, it’s time to tap them. Using a drill, make a hole about 1.5 to 2 inches deep at a slight upward angle. Insert a spile (the metal tap) into the hole and gently hammer it in. This will allow the sap to flow out into a collection container.
Collecting the Sap
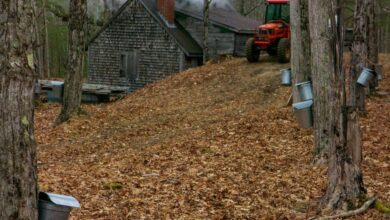
Set up your collection containers to gather the sap as it flows. Traditional methods involve hanging a bucket from the spile, but some prefer using tubing systems for larger operations. Make sure to check your containers regularly, as sap can flow quickly, especially during peak season. If the sap is cloudy or has an off smell, it’s best to discard it, as this indicates it may have started to ferment.
Boiling Down the Sap
Once you’ve collected enough sap—typically, you’ll need about 40 gallons to produce a single gallon of syrup—it’s time for the most crucial step: boiling. The sap contains about 98% water, so boiling it down concentrates the sugars. You can use an outdoor propane burner, a wood fire, or even a stovetop if you have a small batch.
Pour the sap into a large, wide pan to maximize the surface area for evaporation. Keep a close eye on it, as sap can boil over quickly. As the sap cooks down, it will change in color and viscosity. The process is quite labor-intensive and can take several hours, so patience is key.
Monitoring the Temperature
As you boil the sap, use a candy thermometer to monitor its temperature. Maple syrup reaches its ideal consistency at around 219°F (104°C) at sea level. As the sap nears this temperature, it will start to bubble more vigorously and turn a lovely amber color.
When you believe the syrup is ready, you can conduct the “spoon test.” Take a spoonful of the liquid and allow it to cool slightly. If it coats the back of the spoon and drips off slowly, it’s probably ready to be filtered.
Filtering and Bottling
After boiling, you’ll need to filter your syrup to remove any impurities or sugar sand, which is a natural byproduct of the boiling process. Use a fine mesh strainer or cheesecloth for this step. It’s ideal to filter the syrup while it’s still hot to prevent any particles from settling.
Once filtered, pour the hot syrup into sterilized glass jars or bottles. Make sure to seal them properly, as the heat will create a vacuum seal as they cool. If you want to store your syrup long-term, consider canning it for added preservation.
Enjoying Your Homemade Maple Syrup
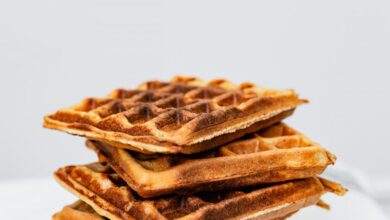
Now that you’ve successfully made your own maple syrup, it’s time to savor the fruits of your labor. Drizzle it over pancakes, waffles, or French toast, or use it as a sweetener in various recipes. The taste of homemade syrup is incomparable, with a depth of flavor that store-bought options often lack.
Embracing the Maple Syrup Journey
Making maple syrup at home is not just about the end product; it’s about embracing the whole process. From tapping the trees to boiling down the sap, every step carries its own rewards. So, don your apron, gather your tools, and step into the world of maple syrup making. You may just discover a new passion along the way.

