How Do You Make Maple Syrup
The sweet allure of maple syrup has captivated taste buds for centuries. This golden elixir, often drizzled over pancakes or stirred into hot beverages, originates from the sap of sugar maple trees. The process of transforming this sap into syrup is both an art and a science, requiring skill, timing, and a touch of nature’s magic. Let’s explore the fascinating steps involved in making maple syrup, ensuring that you appreciate this delightful product even more.
Choosing the Right Trees
The first step in maple syrup production is selecting the right trees. Sugar maples are the primary source due to their high sugar content, typically around 2-3%. Other maple species, like red and black maple, can also be tapped, but their sap is less sweet. Timing is crucial; the ideal season for tapping is late winter to early spring when temperatures fluctuate above and below freezing. This cycle creates pressure changes within the tree, allowing sap to flow.
Tapping the Trees
Once the trees are ready, it’s time to tap them. A drill is used to create a small hole about 1.5 to 2 inches deep in the tree’s trunk. The hole should be positioned on the south side of the tree to catch the sun’s warmth, encouraging sap flow. After drilling, a spout, or tap, is inserted into the hole, allowing sap to drip into a collection container. It’s essential to use clean, food-grade equipment to prevent contamination and ensure the purity of the syrup.
Collecting the Sap
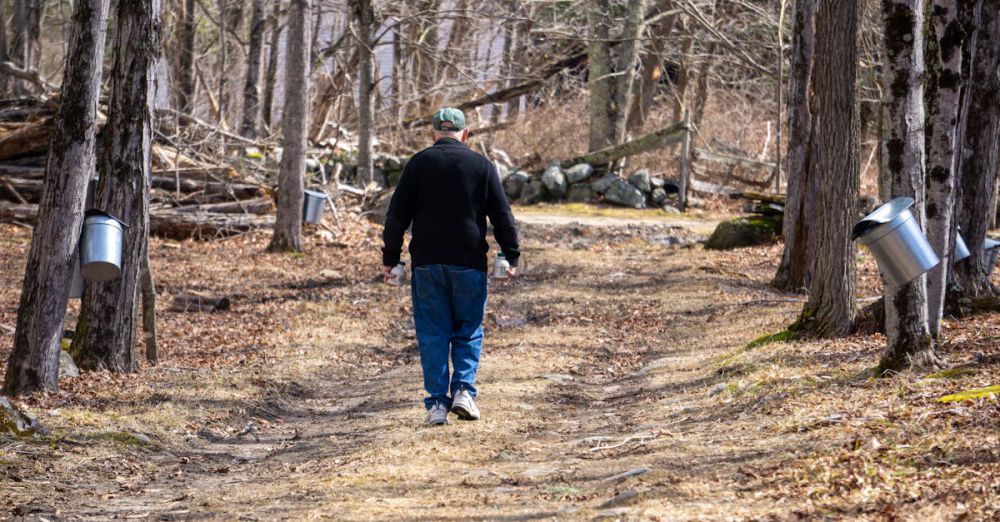
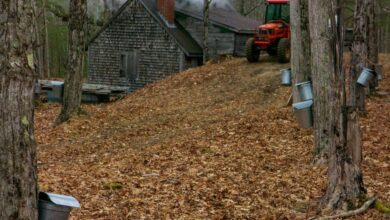
As the temperatures rise, sap begins to flow. Collecting it can be done in various ways, depending on the scale of production. For small operations, buckets can be hung from each tap to gather the sap. Larger producers might use a tubing system to transport the sap directly to a central storage tank. Regardless of the method, sap collection must occur daily during the sap’s peak flow, as it is perishable.
Boiling the Sap
Once enough sap is collected, the next step is boiling it down to create syrup. Sap is mostly water, with only about 2% sugar content, so it takes a significant amount of sap to produce syrup. Typically, it takes about 40 gallons of sap to yield just one gallon of syrup. Boiling is done in a sugarhouse or evaporator where the sap is heated to evaporate the water content. This process requires careful monitoring to maintain the right temperature and prevent burning. As the sap thickens, it gradually transforms into syrup, changing color from pale to a rich amber.
Filtering the Syrup
After boiling, the syrup must be filtered to remove impurities, such as sugar sand and any residue that may have formed during the boiling process. This is typically done using a filter press or a simple coffee filter. Filtering is crucial for ensuring a smooth, high-quality final product. Once filtered, the syrup is ready for the next phase.
Bottling and Storing
The final step in maple syrup production is bottling. Syrup must be bottled while hot to eliminate any potential bacteria. It is poured into sterilized glass or plastic containers and sealed while still warm. Properly bottled syrup can last for years if stored in a cool, dark place. However, once opened, it should be refrigerated to maintain freshness.
Enjoying the Fruits of Your Labor
Producing maple syrup is a labor-intensive process, yet it yields a delicious reward. The sweet, rich flavor enhances a variety of dishes, from breakfast favorites to desserts. Beyond its culinary uses, homemade maple syrup connects us to nature and the changing seasons. Each bottle represents countless hours of hard work and dedication.
In the world of food production, few processes are as rewarding as making maple syrup. It’s a celebration of the natural world, showcasing the beauty of transformation from simple sap to a beloved staple. Whether you’re a seasoned syrup maker or a curious beginner, the journey of crafting maple syrup is sure to be a sweet adventure.

